
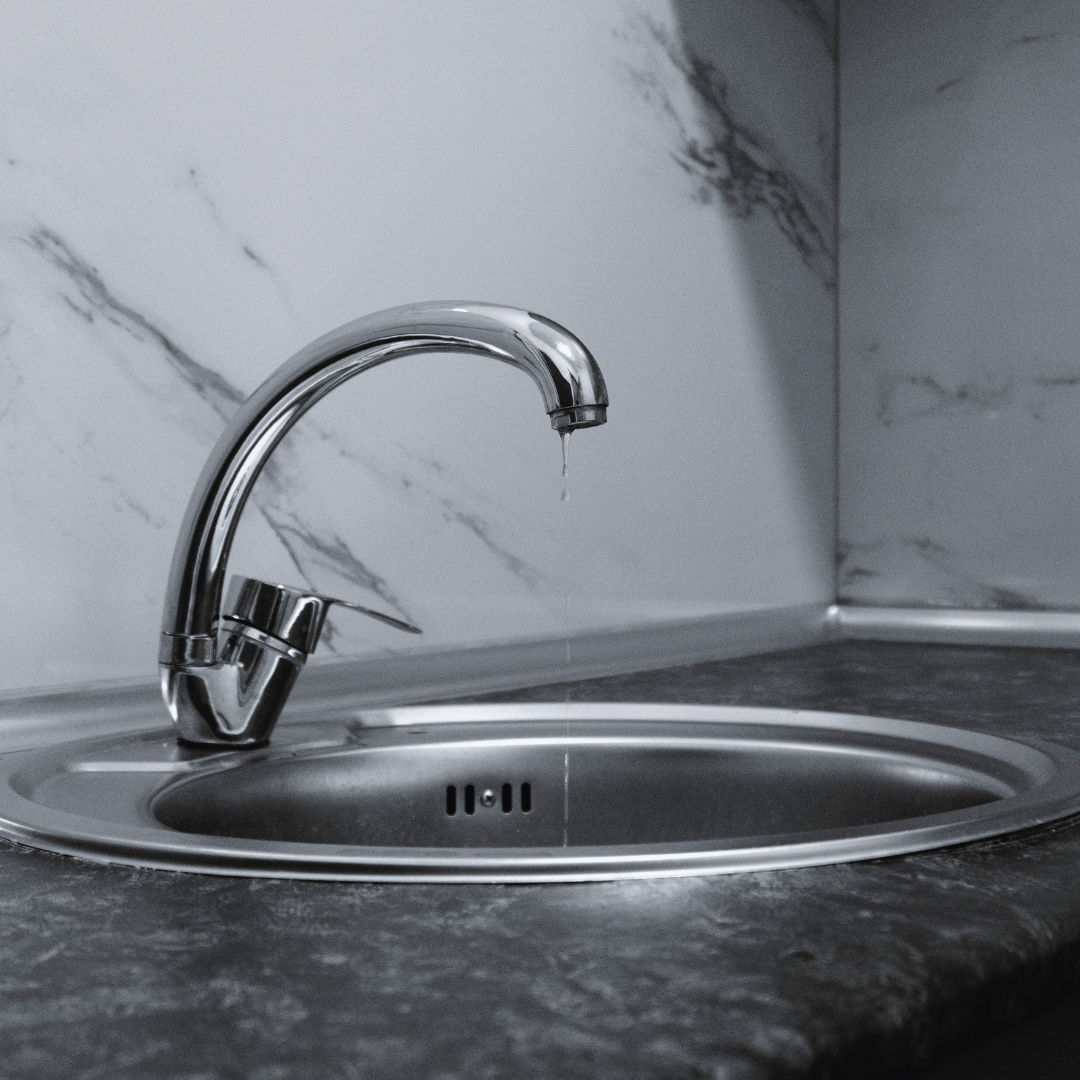
A leaky faucet is more than just an annoying drip—it wastes water and can increase your utility bills. Fixing it yourself is simpler than many people expect, and it often only requires a few basic tools.
The most common cause of a leaky faucet is a worn-out washer or cartridge, which can be replaced to stop the drip quickly and efficiently. Identifying the type of faucet and the specific part causing the leak is key to making a successful repair.
With a straightforward approach and some useful tips, you can save money by fixing leaks without calling a plumber. This guide will walk you through the essential steps to get your faucet working properly again.
Identifying the Type of Faucet Leak
Recognizing the signs and patterns of faucet leaks is critical before starting repairs. Different faucet types have unique leak characteristics that help pinpoint the issue. Precise location of the leak source can save time and prevent unnecessary part replacements.
Common Signs of a Leaky Faucet
A steady drip from the spout is the most obvious sign of a leak. You may also notice water pooling around the base or handles. In some cases, a faucet may leak only when turned off, indicating worn washers or seals.
Other signs include unusual sounds like hissing or dripping, and increased water bills without increased use. Observe if the leak changes with water pressure or handle position—this helps identify the faulty component.
Types of Faucets and Their Leak Patterns
Compression faucets often leak from the handle due to worn-out washers. Dripping usually stops when the handle is fully turned off, but it appears that it’s loose.
Cartridge faucets commonly leak from the spout or base. Leaks here signal damaged O-rings or a faulty cartridge. This type usually requires cartridge replacement.
Ball faucets are prone to leaks around the spout or handle. Rust and debris inside the ball mechanism often cause these leaks.
Ceramic disk faucets generally develop leaks at the base or under the handle, caused by worn seals or disks.
| Faucet Type | Common Leak Area | Usual Cause |
| Compression | Handle or spout drip | Washer wear |
| Cartridge | Spout or base | O-ring or cartridge defect |
| Ball | Spout and handle | Ball mechanism corrosion |
| Ceramic Disk | Base or handle | Seal or disk wear |
Locating the Source of the Leak
Start by inspecting the faucet handles, spout, and base for visible water. Use a dry cloth to wipe suspected areas; wet spots indicate active leaks.
Check underneath the sink if water pools there. Faulty supply lines or connections can cause leaks distant from the faucet.
Tighten handles and observe if dripping stops. If not, the internal components like washers or cartridges likely need replacement. Adjust water pressure to see if leaks worsen under higher flow. This helps identify pressure-related faults.
Essential Tools and Materials for Repair
Fixing a leaky faucet requires specific tools, replacement parts, and some protective gear to ensure a safe and effective process. Having these ready before starting minimizes interruptions and potential damage.
Basic Tools Required
You will need an adjustable wrench to loosen and tighten nuts without damaging them. A set of screwdrivers, preferably both flathead and Phillips, is essential for removing screws on faucet handles and internal parts.
An Allen wrench or hex key may be needed for faucet handles secured with set screws. Pliers, especially slip-joint or needle-nose types, assist in gripping small parts or pulling out washers.
A utility knife can help cut old plumber’s tape or remove worn seals cleanly. Lastly, a small flashlight or headlamp improves visibility inside confined faucet spaces.
Recommended Replacement Parts
Common parts to replace include washers, O-rings, and cartridges. Washers often wear out first and cause drips around the spout. O-rings seal areas around the stem or handle and can harden or crack over time.
Cartridges control water flow in single-handle faucets and may need complete replacement if damaged. Keep extra plumber’s tape (Teflon tape) to ensure watertight threads during reassembly.
It helps to have a small parts container or magnetic tray to organize screws, nuts, and washers during disassembly, preventing loss.
Protective Gear and Workspace Preparation
Wear safety glasses to protect your eyes from debris or splashes. Rubber gloves shield hands from sharp edges, chemicals, or prolonged water exposure.
Prepare the workspace by placing a towel or bucket under the sink to catch drips and debris. Ensure the water supply is turned off before starting to avoid flooding or injury.
Clear the area around the sink for easy movement and tool access. Good lighting improves precision during repairs.
How to Fix a Dripping Compression Faucet
Fixing a dripping compression faucet involves careful steps to stop water flow through the valve. You need to control the water supply, take apart the faucet, replace worn parts like washers and O-rings, and then reassemble it correctly.
Shutting Off the Water Supply
Locate the water shutoff valves beneath the sink. Turn them clockwise to close. If there are no local shutoff valves, turn off the main water supply for the house.
Open the faucet to drain any remaining water from the pipes and relieve pressure. Use a cloth to catch drips. Skipping this step can cause water to spray when you disassemble the faucet.
Verify the water is off by checking that no water flows when the faucet is open. This prevents water damage during repairs.
Disassembling the Handle and Valve
Use a flathead screwdriver to remove the decorative cap covering the screw on the faucet handle. Then, unscrew the handle with a Phillips or flathead screwdriver.
With the handle removed, use an adjustable wrench to carefully unscrew the packing nut. Avoid excessive force to prevent damage.
Remove the valve stem by pulling it straight out. If it’s stuck, apply penetrating oil and gently wiggle. Keep track of all small parts as you disassemble.
Replacing Washers and O-Rings
Inspect the rubber washer at the bottom of the valve stem. If it’s cracked, hardened, or worn, replace it with an exact match.
Check the O-rings on the valve stem for signs of wear or damage. Remove damaged O-rings using a small pick or blade and replace them with new ones of the same size and material.
Lubricate the new O-rings lightly with plumber’s grease before installing. This ensures a snug fit and extends part life.
Reassembling and Testing the Faucet
Insert the valve stem back into the faucet body. Tighten the packing nut securely with an adjustable wrench, but avoid overtightening it.
Replace the handle and secure it with the screw. Press the decorative cap back into place.
Turn the water supply back on slowly. Open the faucet and observe for any leaks or drips. Tighten parts slightly if minor leaks occur.
Step-by-Step Guide to Repairing Ball Faucets
Fixing a ball faucet involves carefully removing the handle and cap, checking the internal seals for damage or wear, and then reassembling the faucet correctly. Each step requires specific tools and methods to ensure the leak stops and the faucet functions smoothly.
Removing the Handle and Cap
First, turn off the water supply to the faucet. Use a flathead screwdriver or an Allen wrench to remove the handle screw, which is typically located under a decorative cap or on the side of the handle. Gently pry off the handle and set it aside.
Next, unscrew the cap with an adjustable wrench or pliers. Be cautious not to damage the metal finish. Removing this cap exposes the internal ball and cartridge assembly. Clean any debris or mineral buildup visible before proceeding to the next step.
Inspecting and Replacing Seals
Inside the ball faucet, the most common source of leaks is worn or damaged rubber seals or O-rings. Carefully remove the ball assembly and examine all seals for cracks, flattening, or hardening.
Replace any faulty seals with exact matches from a faucet repair kit, which typically includes spring seals, rubber seats, and O-rings. Grease the new seals lightly with plumber’s silicone grease before installing to maintain flexibility and a proper water-tight seal.
Reconstructing the Faucet
Once the seals are replaced, reinsert the ball assembly into its housing. Align it correctly using the cam and ball slots to ensure smooth operation.
Replace the springs and seats, then tighten the cap with an adjustable wrench, taking care not to overtighten. Finally, reattach the handle and secure it with its screw. Turn the water supply back on and test for leaks, ensuring the handle moves freely.
Fixing Cartridge-Type Faucet Leaks
Cartridge-type faucets require precise handling to fix leaks effectively. Accessing the cartridge, checking for damage, and replacing it correctly are critical steps to restore proper function.
Accessing the Cartridge Assembly
Start by shutting off the water supply to the faucet. Next, remove the decorative cap on the handle using a flathead screwdriver or a small knife. Locate and unscrew the handle screw, then pull the handle off the faucet body.
Use an adjustable wrench to loosen and remove the retaining nut or clip holding the cartridge in place. Carefully pull the cartridge straight out of the faucet assembly. Keep track of washers, O-rings, or other small parts as you remove them.
Inspecting for Damage
Check the cartridge for cracks, corrosion, or worn seals, which are common causes of leaks. Examine O-rings and rubber seals for brittleness or missing pieces. Damaged components compromise the seal and allow water to drip.
If mineral buildup is visible, soak the cartridge in vinegar to dissolve deposits. Do not attempt to patch a cracked cartridge, as this will likely fail. Replace any worn or broken parts to ensure leak-free operation.
Installing a New Cartridge
Before inserting the new cartridge, apply a small amount of plumber’s grease to the O-rings and seals. Align the cartridge correctly with the slots inside the faucet body—incorrect alignment can prevent proper sealing.
Insert the cartridge firmly and replace the retaining nut or clip, tightening it securely but not over-tightening. Reattach the handle and secure it with the screw, then replace the decorative cap.
Turn the water supply back on and test for leaks by slowly opening the faucet. Tighten connections if necessary, but avoid excessive force.
Repairing Leaks in Ceramic Disk Faucets
Fixing leaks in ceramic disk faucets involves carefully removing the disk cylinder, addressing worn seals, and reassembling the faucet properly to restore a tight seal. Each step requires attention to detail to avoid damage and ensure longevity.
Lifting the Disk Cylinder
Start by turning off the water supply under the sink. Remove the faucet handle using a screwdriver or an Allen wrench, depending on your model. Once the handle is off, gently lift the ceramic disk cylinder from the faucet body.
Be cautious not to scratch or chip the ceramic surface; even minor damage can cause new leaks. If the cylinder is stuck, use penetrating oil sparingly and tap lightly with a rubber mallet. Set the cylinder on a clean cloth to avoid dirt or debris contaminating the seals.
Cleaning or Replacing Seals
Inspect the rubber or silicone seals surrounding the ceramic disk for cracks, stiffness, or wear. These seals often cause leaks when they lose elasticity or become damaged. Clean them with warm, soapy water to remove mineral buildup.
If seals appear brittle or misshapen, replace them with exact-size new seals from a hardware store or faucet manufacturer. Using improper seals might cause continued leaks or poor faucet function. Lubricate seals with a small amount of silicone grease before reinstalling to maintain flexibility and prevent sticking.
Proper Faucet Reassembly
Place the ceramic disk cylinder back into the faucet body carefully, aligning any notches or tabs for a secure fit. Avoid forcing the cylinder, as improper alignment can damage the seals. Reattach the handle in reverse order, ensuring screws or set screws are tightened firmly but not over-tightened.
Turn the water supply back on and test the faucet for leaks by operating the handle through the full range of motion. If leaks persist, double-check seal placement and cylinder alignment before reassembling. Proper reassembly is critical for a leak-free faucet.
Preventing Future Faucet Leaks
Maintaining a faucet’s condition involves regular checks and timely action. Knowing what to look for and how to act on signs of wear can extend the life of your faucet. Proper installation is the foundation for durability and leak prevention.
Routine Maintenance Tips
Inspect faucet components like washers, O-rings, and seals every six months. Replace any parts showing signs of wear or damage to prevent leaks early. Clean aerators regularly to remove sediment buildup, which can affect water flow and pressure.
Lubricate moving parts with plumber’s grease to reduce friction and prolong their function. Tighten loose handles or connections as soon as you notice movement or play. Avoid using harsh chemicals for cleaning; opt for mild soap to protect surfaces.
Recognizing Early Warning Signs
Listen for dripping sounds when faucets are off, as these indicate leaking seals or worn washers. Notice changes in water pressure or uneven flow patterns, which may suggest internal blockages or damage.
Visual signs like water stains or moisture around the base of the faucet can reveal hidden leaks. Pay attention to sudden increases in your water bill; unexplained spikes often signal unnoticed leaks. Early detection saves water and prevents more costly repairs.
Ensuring Proper Installation
Use high-quality parts that match your faucet model for replacement or new installation. Ensure all connections are snug but avoid over-tightening, which can cause cracks or damage threads. Follow manufacturer instructions carefully or consult professional guidance.
Install shut-off valves in accessible locations to allow quick isolation of the faucet for repairs. During installation, verify that water supply lines are free of twists or kinks, which can stress connections and cause leaks. Double-check seals and gaskets to confirm they are seated correctly.
When to Call a Professional Plumber
Certain faucet leaks involve complications beyond routine repairs and require specialized tools or expertise. Misdiagnosing or improperly fixing these leaks can cause further damage or safety issues. Knowing when to seek professional help ensures proper handling and long-term reliability.
Complex Leak Scenarios
If the leak originates from hard-to-reach internal components or involves multiple faucet parts, it is best to call a plumber. Leaks caused by damaged water supply lines, corroded valves, or faulty cartridge replacements often need professional assessment.
Situations with persistent dripping after multiple DIY attempts, or leaks affecting multiple connections, indicate internal damage that requires advanced diagnostic tools. Additionally, leaks linked to water pressure problems may need precise adjustments best handled by professionals.
Potential Risks of DIY Repairs
Improper repairs can worsen leaks or cause water damage to cabinetry, walls, and flooring. Using incorrect replacement parts or overtightening fittings risks cracking fixtures or stripping threads, increasing repair costs.
DIY fixes involving soldering, gluing, or disassembling complex faucet mechanisms carry risks such as water contamination or pipe bursts. Without proper training, unexpected repairs to plumbing systems may compromise safety or void warranties.
Selecting a Qualified Plumber
Choose plumbers licensed in your state with verifiable experience working on faucet repairs. Look for professionals who provide clear upfront estimates, relevant insurance coverage, and references or positive customer reviews.
Consider plumbers who specialize in residential plumbing and can guarantee work. Asking about warranty policies and timeframes for completing repairs ensures accountability and timely resolution.