
A First-Time Homeowner’s Guide to Residential Painting
Your first repaint sets the tone for how your home wears over the next decade. Get the preparation, paint choice and timing right and the finish will hold. Get them wrong and you’ll pay twice.
Start with prep, not paint
Most first-timers shop for colour first. Professionals start with preparation.
Paint sticks only as well as the surface underneath allows. If there’s dust, chalk, grease or flaking material under the film, the new coat can let go within a year or two. That’s why failed jobs peel in sheets while the paint itself still looks fine. The tin gets blamed, but the preparation is usually at fault.
Inside, the routine is straightforward but slow. Move out what you can, cover floors and fixed cupboards with dust sheets, then wash the walls to lift hand oils, cooking film, dust and cobwebs.
Scrape loose spots back to a firm edge. Sand glossy areas until dull so the next coat has something to grip. Fill cracks and nail holes, sand the filler smooth when dry, then spot-prime bare patches so the sheen stays even.
Mask skirtings, window frames, power points and door hardware with tape. It can feel fussy, but it is what gives you sharp lines.
Outside, the same logic applies, with more washing. Salt, dust, cobwebs and old chalk need to come off before you sand.
Scrape back to sound paint. Sand feather edges, fill gaps and seal joints.
Don’t rush this part.
Pull tape while the paint is still tacky because it leaves a crisp edge. Leave it for days and it can tear paint off. Vacuum skirting gaps before painting too, as dust caught in the brush leaves pimples in the finish.
Choose paint for Perth sun and salt air
Perth light is harsh, with around 3,200 hours of sunshine a year on average (Bureau of Meteorology). That sun bakes west-facing walls and fades cheap exterior paint quickly.
You need exterior paint made for heat and UV exposure. Look for labels that mention UV resistance and flexibility. A flexible film moves with expansion on hot afternoons, so it won’t crack as quickly.
If you live within a few kilometres of the coast, salt is the second enemy. Salt drift settles on walls, fences, eaves and gutters. It draws in moisture and lifts weak paint. Ask for a salt-tolerant exterior system and wash the surface thoroughly before starting. We’ve seen coastal jobs fail early because the salt was simply painted over.
Timing matters as much as the product. Don’t paint in extreme midday heat. Hot boards make paint skin before it bonds, and blisters follow. Cold nights are risky too because dew can settle on fresh film and leave dull spots. Aim for mild, dry days with light wind. Start on shaded sides in the morning, then follow the shade around.
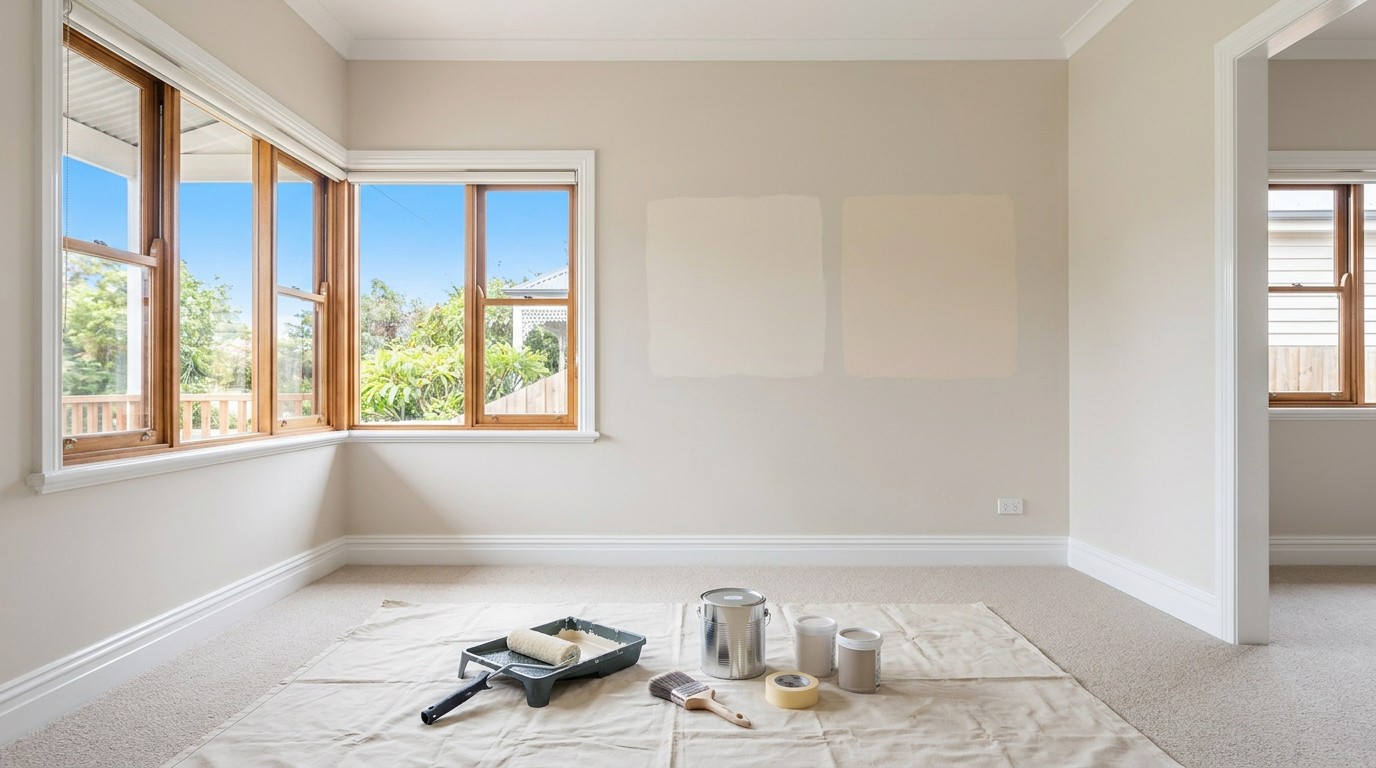
Colour choice needs real-world testing. Sample pots are cheap insurance, so paint large A3-size patches on two walls that receive different light. Look at them in the morning, at midday, in the late afternoon and at night. You’ll see undertones you missed on the card. Creams can go yellow, while greys can go blue.
Keep sample patches up for two full days. Tape a white border around each patch so your eye reads the colour accurately, and check them with the lights on and off. You’ll thank yourself when the whole wall is finished.
West-facing rooms fade soft furnishings too. Choose lighter exterior colours there because they reflect heat and chalk less.
Match sheen to the room
One tin can’t do the whole house. Sheen affects how paint reflects light and how well you can wipe it clean.
Flat paint is for ceilings. It hides plaster joins and doesn’t bounce light, but it marks easily, so don’t use it where hands regularly touch the walls.
Low-sheen is the workhorse for bedrooms and living rooms. It has a soft glow and touches up better than higher-gloss finishes. It will still handle light scuffs if the paint is of decent quality.
Use semi-gloss in kitchens, laundries, bathrooms and kids’ rooms where steam, splashes, grease and fingerprints are common. It resists moisture and can be scrubbed without burnishing the finish.
Use gloss or high-gloss on trims, architraves, skirtings and doors. It levels into a hard shell, but it also highlights every dent, so take more care filling and sanding trims than walls.
Mixing these up is a classic first-timer error. Flat paint in a bathroom develops mould spots and can wipe off with the stain. Gloss on a bumpy ceiling shows every flaw. Buy the right sheen for each surface and you won’t have to repaint high-traffic areas a year later.
If you have young kids or pets, choose washable low-sheen or semi-gloss for hallway walls. Flat touch-ups blend better, whereas semi-gloss touch-ups can flash if you dab small spots. Keep a labelled jar for each room to make quick fixes easier.
Ceiling white is not pure white. It has a touch of black to cut glare. Don’t use wall colour on ceilings unless you want a cave-like feel.
Know what a solid quote looks like
A clear quote shows you how the painter works. A vague one can hide what they’ll skip.
Ask for separate line items for ceilings, walls, trims and doors. Each line should state the preparation and primer required, along with two full coats. The preparation should specify washing, sanding, filling and spot-priming.
It should explain who moves the furniture and who repairs minor cracks and holes.
Most painters price per square metre or charge a fixed fee for the job. Some charge by the hour for small repairs.
When you’re ready to get serious quotes, comparing Residential Painting Services Perth providers on preparation scope and licensing is the smartest first move. Most residential painting services in Perth will itemise this without being asked.
Check that the painter is licensed in WA and holds public liability cover. Ask how long the workmanship warranty runs and what is required to keep it valid. Good painters provide recent local references without hesitation.
Be wary of a price far below the rest because it often means rushed preparation or no primer. You’ll end up paying to fix the job within a year.
Ask what the warranty requires from you. Most painters ask customers to keep sprinklers off walls, repair leaks quickly and wash exteriors yearly. Get the warranty in writing with its start date and term. Call one past client and ask whether the crew arrived on time and left the property tidy.
Acrylic versus solvent-based paint
Most walls now receive water-based acrylic. It dries quickly, can be recoated in a few hours and washes out of brushes with water. Colours also stay truer because acrylic resists yellowing.
Solvent-based enamel still has a place on hard-wearing trim. It flows to a smooth, hard finish and handles knocks better than cheap acrylic trim paint. However, it smells much stronger, needs turps for clean-up and takes longer before you can recoat.
Don’t mix systems without checking first. Acrylic over old solvent paint can peel if the gloss wasn’t sanded dull and primed. Solvent over old acrylic can wrinkle weak layers underneath. If you’re unsure what is on the wall, test a small patch first.
If your trims are old enamel in good condition, you can stay with enamel or switch using the right primer. Your paint shop can match the system if you tell them what is there now.
You’ll pay more for premium acrylics, but they cover better and fade more slowly in the sun.
Deep colours need the right base. Pastels start from a white base, while dark reds and navies start from a clear base. Box your tins by mixing them together when you need more than one tin for a room. This evens out small tint differences.
Acrylic clean-up is easier in a lived-in home. You wash with water and don’t leave rooms smelling of solvents. Solvent clean-up requires ventilation and safe storage for rags and thinners. Keep both products away from kids and pets.
Work out how much paint you need
Running short halfway across a wall leaves lap marks, while overbuying wastes money. A little maths helps you avoid both.
Start with the wall area. Measure the length by the height of each wall, then subtract large windows and doors. The result is your total in square metres.
Quality acrylics cover about 16 square metres per litre per coat on sealed surfaces. Porous plaster, bare render, brick and fresh filler absorb more.
Allow for two full coats everywhere, plus primer on bare spots. Don’t count primer as a topcoat.
Say your living room has 50 square metres of wall. One coat needs about 3.1 litres, so two coats require about 6.2 litres. Buy a 10-litre tin for the price break or two 4-litre tins if you want spare paint for touch-ups. Porous rooms will need extra.
Ceilings, undercoats, trims and doors all need separate allowances.
Bare plaster and fresh filler absorb paint unevenly. Primer seals those areas and gives the topcoats an even colour. Skip it and you will see flashing where the filler soaked up paint. If you spray, buy extra because spraying lays a thinner film and the wind carries some away. Brushes and rollers waste less.
Timing, old homes and DIY reality
Choose your week carefully. Paint performs poorly in extreme conditions, so dry, mild weather with low humidity is ideal. Morning shade is your friend.
High heat causes blisters. Dew ruins gloss, while rain on fresh acrylic can wash it streaky. Check the forecast for two dry days. Don’t start late in the day on exterior walls that are likely to get damp overnight.
Old homes need extra caution. Houses from the 1970s and earlier can have lead paint beneath newer layers. Houses from the 1980s and earlier can contain asbestos in eaves, wall linings, ceilings and fibro sheeting. Don’t dry-sand or scrape suspect paint. Get a test first and use a licensed assessor for asbestos. It costs far less than the health risk.
Be honest about DIY. A bedroom is manageable over a weekend, but a full exterior is a different job. Amateurs often take three to four times longer than a crew.
You’ll need to hire ladders, sprayers, sanders and drop sheets, and you’ll buy paint at retail prices. You also lose weekends. Mistakes such as brush marks and thin spots can become visible within months.
Add up the cost of hire gear, tape, covers and sandpaper, along with filler, brushes, paint and your weekends. A cheap DIY job that fails costs twice because a painter must repair the defects before repainting. Professionals buy at trade rates and work faster in teams.
A professional warranty often runs five to seven years on exterior work if you keep gutters clean and wash salt off yearly.
Treat your first repaint as a project rather than a chore. Prepare thoroughly, match the product and sheen to the job and hire based on scope rather than price alone.