
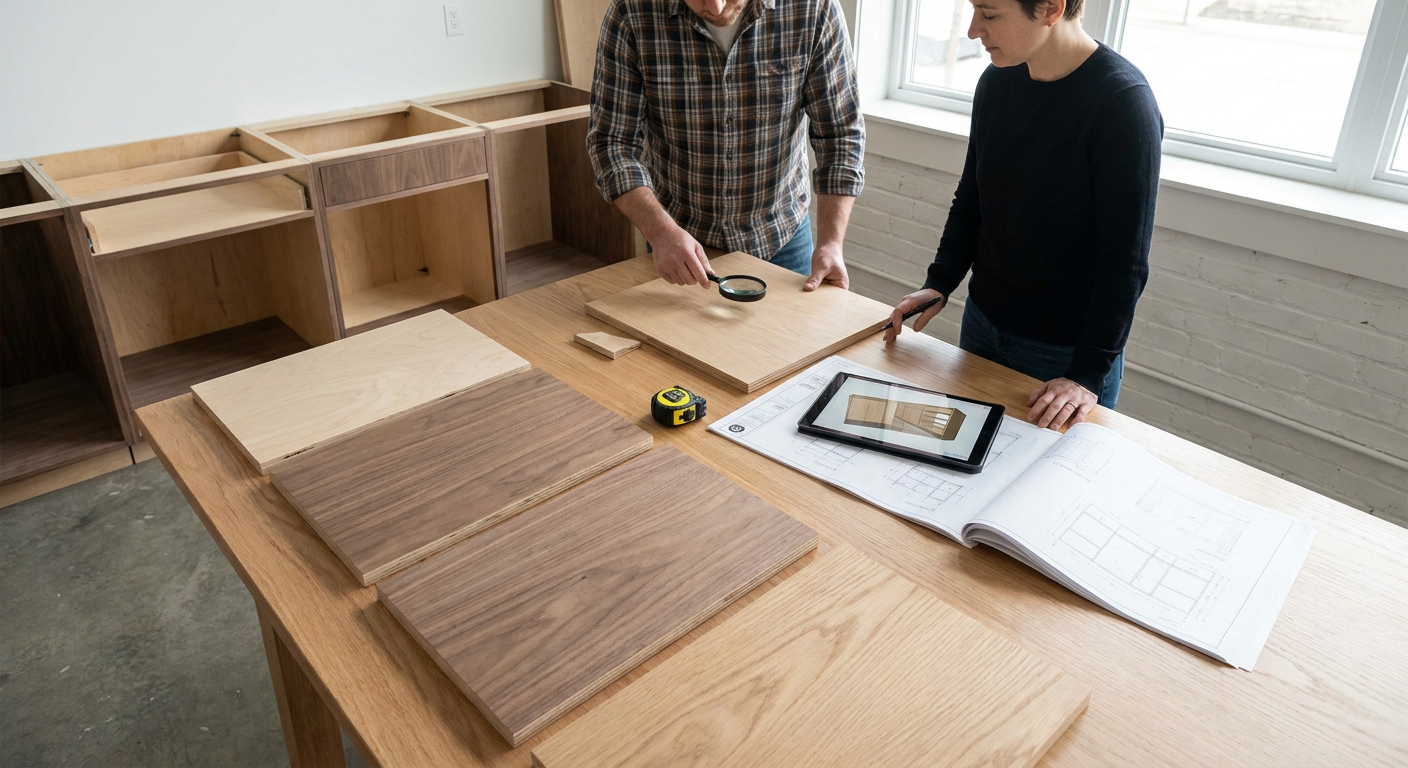
Failures in cabinetry are not design failures. They are specification failures – someone writes, “3/4 cabinet-grade plywood” on a cut list, and the specifier gets whatever the supplier had on the rack that week. If you are building anything your client is paying premium money for, the specification must name the core, the grade, the veneer cut, and the panel size before a single sheet gets ordered.
What “architectural plywood” actually means on a spec sheet
The term architectural plywood is thrown around pretty loosely, but there’s a precise prescription for what constitutes a real one: face species, face grade, back grade, core type, and ply count. Leave any of those off and you’re gambling on substitution.
Face grade matters more than people think. The standard hardwood plywood grading system runs from A through D for faces, with N (Natural) sitting above A for the highest quality veneer work. A “B-2” panel, for instance, has a solid but less than perfect face and a utility back. If your cut sheet just says “maple ply,” a supplier is within their rights to hand you a B-grade face when you needed A or N for a book-matched door set. Write the grade down. Write the back grade down too, since interior cabinet sides often don’t need the same face quality as the door skin.
Panel thickness and ply count round out the spec. A 3/4-inch sheet can be built from as few as five plies or as many as thirteen, and that number changes how the panel behaves under a router bit, how it holds screws, and how flat it stays over a ten-foot run of upper cabinets.
Core selection: the decision that drives everything else
Architectural plywood can be broadly categorized into three varieties: Veneer core, MDF core, and particleboard core. Each of these makes the panel weigh, machine and fasten differently.
Veneer core has plies of solid wood that are typically lighter than alternatives. It does well with fasteners; you don’t need to hold your breath against splitting as the screw torques home. And without voids, there’s nothing divorcing the outside veneers from the solid edge that encases them. It’s plenty strong for door and drawer hardware. Veneer core plywood also machines like a dream on the table saw. So if you’re operating in a one-man shop, this is the luxury of choice. The downside? It’s the most expensive of the three options.
MDF core plywood is incredibly flat and increasingly smooth. This makes for fine panel product that gives you an easy-on-the-eyes, ready-to-paint finish. The weight, however, is considerable, and hardware barely bites into the stuff. A pilot hole packed with glue or an expensive threaded insert is often the necessary precaution. Solid wood and MDF mix about as well as oil and water.
Particleboard core plywood is cheaper to manufacture and heavier to lift. Screws almost have the holding power of smooth nails in particleboard. No job involving exposed edges should ever even consider the stuff. Particleboard-core plywood is the bargain basement of the three and often companies wanting to comfortably undercut their competitors will use it to save a few dollars on bidding jobs.
Why Baltic birch earns its reputation for drawer boxes
Baltic birch is worth singling out because it, in effect, helps to avoid the problem with the other cores. A 3/4-inch (18mm) Baltic birch panel consists of 13 plies, compared to the 3 to 5 plies typical of 3/4-inch softwood plywood. That ply count isn’t a manufacturing footnote, it’s the source of Baltic birch’s void-free core.
“Void-free” is a great concept to wax poetic about but it truly has meaning in use, not just in theory. Drill a shelf-pin hole into the edge of other core plywoods and you could hit an internal void, rendering the pin useless. Same with screwing into an edge. With Baltic birch, every ply is solid wood and holds screws and other fasteners better than the thin plies in other cores. This makes it ideal for drawer boxes, candle boxes, and the insides of cabinets and jigs, where the actual edge will remain visible.
Sourcing and panel sizing: build the job around full sheets
Panel size is a factor you should let define your cabinet module design on the supply side, not a realization you make once you’re already building. Hardwood plywood typically comes in 4×8 sheets. Baltic birch is commonly provided in 5×5 sheets instead, which changes the way you’d lay out a cut list for drawer boxes versus door panels.
Designing your cabinet runs around full-sheet yield does two things. One, it takes control of waste, since a nested cut list that respects the panel’s actual dimensions gets more parts per sheet than one that ignores grain direction and sheet boundaries. Two, it keeps veneer matched across a job, since parts cut from the same flitch on the same sheet will read as one continuous piece of wood once installed side by side. Split that flitch across two separately-ordered sheets and you risk a visible seam in color or grain between adjacent cabinet doors.
This is also where sourcing choice starts to matter more than people expect. Order full architectural sheets from a specialist supplier not a general hardware store and you can actually get mill documentation on core type, ply count, and grade before the sheets arrive on site. For projects in that part of the market, Plywood Supplies Perth is worth using as a benchmark for what a proper cut-to-size and specification service should look like – full sheets, documented cores, and someone on the other end who can answer a grading question without guessing.
Face veneer cut: the decision that determines how the wood reads
First, the species – oak, maple, walnut, birch – but the veneer cut decides the grain pattern your customer sees looking out over their kitchen.
Plain-sliced veneer creates the cathedral grain most folks think about when they envision wood grain: arched, flame-like patterns. It’s warm, it’s traditional, and it’s the cut common in a lot of homey-looking residential work.
Quarter-sliced or rift-sliced veneer gives you a straight, consistent, vertical grain with almost no arching. This is the cut you want for shaker-style doors, tall pantry panels, or anywhere a continuous straight grain is going to read as formal and controlled. Mixing the cuts across a single kitchen – cathedral grain on the island, straight grain on the wall cabinets – is a rookie mistake that the homeowner may not immediately notice but becomes the kind of 3 a.m. realization that haunts them for the next decade every time the light hits the panels at an angle.
Just as important is matching at the flitch level. Book match, slip match, and running match all describe how adjacent veneer leaves are arranged. Specifying the one you want means the supplier doesn’t have carte blanche to draw from a couple different mismatched flitches when sending out your order.
Cutting without wrecking the veneer face
Architectural plywood is expensive enough that a bad cut is a real cost, not just an inconvenience. The veneer face is thin – often less than a millimeter – and a dull blade or the wrong insert will tear it before you even notice.
Two things prevent that. First, use a sharp, high-tooth-count blade designed for plywood or veneer work, not a general-purpose rip blade. Second, run it with a zero-clearance insert on your saw table, which supports the veneer right up to the cut line instead of letting it flex down into a wide throat gap and splinter on the way through. For cross-grain cuts especially, scoring the cut line first with a sharp utility knife gives the blade a clean edge to follow and stops the face veneer from lifting.
None of this is exotic technique. It’s just the difference between a shop that treats plywood like a commodity and one that treats it like the finish material it actually is.
Joinery that holds up in plywood
Plywood is different from solid lumber when it comes to a joint, and the joinery approach needs to take that into consideration. Dados and rabbets work nicely because they spread the load across the plies, rather than focusing it on a single point of the fastener. Butt joints that are reinforced with pocket screws are fast and strong enough to make most of the cabinet carcass, provided your screws go into solid ply and not too close to the edge where they might blow out a thin outer veneer.
No matter what you choose, grain direction on the parts being joined impacts both strength and appearance. Running the face grain vertically on a cabinet side, then joining it to a horizontal top with a rabbet, is a small detail that keeps the whole carcass reading correctly once assembled.
Edge treatment is a design decision
Unprocessed plywood edges are an incomplete puzzle. This is not your final result when you reveal the multi-ply core lines and glue edges on a “high-end cabinetry” piece, no matter how amazing the face veneer is.
You have three solid choices. Iron-on edge banding in a matching veneer is the quickest and cheapest, but visually disappears when competently applied. Solid-wood edge strips glued and trimmed flush give a satisfyingly hefty edge that can be rounded over nicely and stands up to more abuse. Painted or sealed edge is suitable for all-around panels on an MDF core going for a painted finish, where you’re after a completely invisible seam, not a wood grain match. Whichever you choose, you want it on the spec sheet. “Edge treatment: 3mm matching veneer band” needs to be on the same cut list as the panel dimensions, not decided on the shop floor halfway through your job.
Compliance and why it’s a selling point, not just a rule
Formaldehyde emission standards – commonly referenced as CARB Phase 2 or E1/E0 – regulate the amount of off-gassing a panel can produce after installation. Specifying compliant panels isn’t just a regulatory checkbox. It’s a legitimate selling point you can put in front of a client: healthier indoor air, lower odor on delivery, and a panel package that holds up to scrutiny if anyone asks what’s actually inside their cabinets. High-end work should lead with that detail, not bury it in fine print.
Write the spec like you mean it
A cabinet package that truly deserves the term “architectural” arrives with a detailed cut list, a veneer-matching instruction, a specified core and grade, and an edge treatment note attached to each sheet before it’s even processed. Miss one of those details and you’re right back to winging it with whatever the vendor delivers. But hit the spec right at the front end, and the rest of the work – the cutting, the joinery, the finish – will likely be a true match to what the end-user wrote the check for.