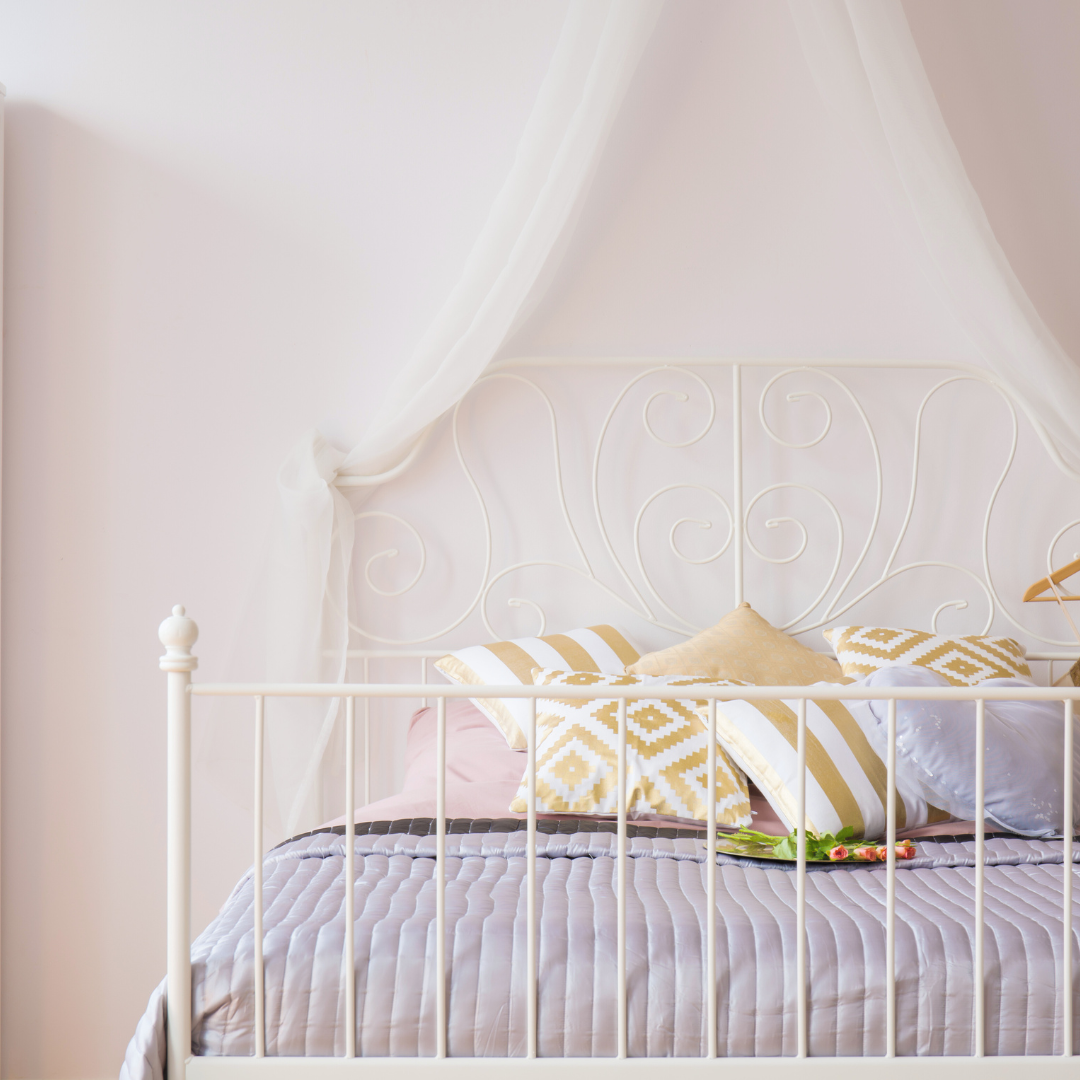
Upgrading a bedroom can transform it from ordinary to extraordinary, and a headboard is a crucial element that often gets overlooked. DIY headboard ideas offer creative solutions that can elevate the entire room’s aesthetic without breaking the bank. Whether it’s a rustic wooden design or a sleek upholstered finish, a custom headboard can bring a personal touch to any sleeping space.
Many people unknowingly limit their decorating potential by opting for store-bought options. Creating a DIY headboard allows for unique expressions of style and can be tailored to fit individual preferences. From utilizing reclaimed materials to crafting simple fabric panels, the possibilities are endless for those willing to get hands-on in their interior design projects.
Engaging in a DIY project not only enhances the bedroom’s look but also provides a sense of accomplishment. Choosing the right design can create a focal point in the room, setting the mood and making it a more inviting environment. Readers will find a variety of ideas and instructions that cater to different skill levels, ensuring that anyone can achieve a stunning headboard that complements their bedroom.
Types of DIY Headboards to Transform Your Bedroom
Choosing the right type of DIY headboard can significantly enhance the bedroom’s aesthetics. Different styles cater to various tastes, whether one prefers the softness of fabric, the warmth of wood, or innovative alternatives. Each type adds a unique flair and can complement various decor styles.
Upholstered Headboards
Upholstered headboards offer a soft and inviting touch to any bedroom. They can be customized using different fabrics, colors, and patterns, from luxurious velvet to durable linen. For those interested in tufting, adding buttons creates a classic quilted look.
To create an upholstered headboard, one needs basic materials: a headboard base (plywood works well), foam padding, batting, and fabric.
- Cut the plywood to the desired headboard shape.
- Attach foam and batting securely.
- Wrap the fabric around the assembly, securing it at the back with a staple gun.
The result is a personalized piece that can accentuate the room’s design.
Reclaimed Wood Headboards
Reclaimed wood headboards boast a rustic charm, perfect for farmhouse or country-style decor. Using salvaged wood not only gives a unique character but also promotes sustainability. Each piece of wood tells its own story, with variations in grain and color.
To build a reclaimed wood headboard:
- Select suitable wood planks.
- Clean and sand them to ensure a smooth surface.
- Assemble the pieces into a cohesive design, using screws or brackets for stability.
This type of headboard often becomes a focal point in the bedroom, pairing beautifully with soft linens and neutral tones.
Creative Headboard Alternatives
For those looking to break away from traditional designs, creative alternatives can make a strong statement. Options include a gallery wall of framed artwork or photographs behind the bed or using a large tapestry for a colorful backdrop.
Another idea is repurposing items like folding screens or vintage doors. These elements can reflect personal style and interests. When considering alternatives:
- Ensure stability, especially for heavier items.
- Match the headboard to the room’s color scheme and furnishings.
These innovative solutions offer an opportunity to express creativity and individuality while elevating the bedroom’s ambiance.
Step-by-Step Guides for Popular DIY Headboard Projects
Creating a DIY headboard can elevate any bedroom style. The following guides detail the processes for crafting a rustic headboard, making a tufted headboard, and adding nailhead trim to existing designs.
Building a Rustic Headboard
To build a rustic headboard, gather materials such as reclaimed wood, wood screws, and brackets.
- Select Wood: Choose wood pieces with different textures and sizes for character.
- Cut to Size: Measure the desired width and height, then cut the wood panels accordingly.
- Assemble: Lay the wood panels horizontally and use wood screws to secure them together. Attach brackets for added stability.
- Finish: Sand the edges for a smooth finish. Apply a wood stain or sealant to enhance the rustic look.
This style suits various decors and creates a warm, inviting atmosphere.
Making a Tufted Headboard
A tufted headboard adds elegance and comfort. Essential materials include plywood, foam, fabric, batting, and buttons.
- Prepare the Base: Cut a piece of plywood to the intended headboard size.
- Attach Foam: Cut foam to fit the plywood, gluing it down securely.
- Cover with Batting: Lay batting over the foam and staple it to the back of the plywood.
- Apply Fabric: Place fabric on top of the batting and pull it taut, stapling at the back.
- Add Tufts: Mark button placements, needle through the fabric and foam, and secure them with buttons for a classic tufted look.
This project offers a luxurious finish to any bedroom.
Adding Nailhead Trim to Headboards
Nailhead trim brings a decorative touch to headboards. This project requires fabric, a hammer, and nailhead trim.
- Choose Your Fabric: Select an upholstery fabric that complements the existing headboard.
- Prepare the Surface: Ensure the headboard is clean and smooth.
- Lay Out Trim: Decide the placement of the nailhead trim. Use a pencil to mark positions evenly.
- Attach Trim: Begin at one end and hammer the trim into place, ensuring it is straight.
- Secure the Edges: Make sure each nailhead is firmly in position to prevent gaps.
This simple update can add sophistication to a plain headboard.
Essential Materials and Tools for DIY Headboards
Creating a DIY headboard involves careful selection of materials and tools to ensure a successful project. Each component contributes to the headboard’s look and functionality. Below are vital aspects to consider.
Choosing the Right Fabric and Materials
Selecting fabric and materials is essential for aesthetics and durability. Common fabric choices include cotton, linen, velvet, and faux leather. Each offers a distinct look and feel, making it important to consider the bedroom’s overall style.
Materials like plywood or MDF board serve as the base for the headboard, offering sturdiness. To enhance the headboard’s appearance, consider adding decorative elements like trim or nailhead accents. When purchasing fabric, ensure it is upholstery-grade for better wear resistance.
A few factors to keep in mind:
- Durability
- Color and pattern
- Texture
These considerations lead to a tailored design that complements the bedroom decor.
Insulation and Padding Options
Insulation and padding contribute significantly to comfort and appearance. Common choices include quilt batting, foam padding, and polyfill. Foam padding offers a plush feel and is available in various thicknesses.
When selecting padding, ensure it covers the entire surface of the headboard. This prevents sharp edges from showing and creates a smooth surface. For a softer look, consider using quilt batting layered under the fabric.
Key Points:
- Choose foam thickness based on desired comfort.
- Layering materials can enhance appearance.
- Ensure even coverage to maintain visual appeal.
These options can transform any DIY headboard into a cozy focal point in the bedroom.
Must-Have Tools for Safe Construction
Safety and precision are critical in constructing a DIY headboard. Essential tools include a power drill, staple gun, and measuring tape. A circular saw or jigsaw is needed for cutting wood to the desired dimensions.
A level ensures the headboard is mounted straight on the wall, avoiding future alignment issues. Additionally, having clamps can aid in holding materials together while assembling, enhancing stability.
Suggested Tools:
- Power drill
- Staple gun
- Measuring tape
- Level
- Circular saw or jigsaw
Understanding the right tools promotes a safe and efficient building process, ensuring a well-crafted headboard.
Bedroom Design Tips: Styling and Maintaining Your DIY Headboard
Styling a DIY headboard can enhance a bedroom significantly, while regular maintenance ensures its longevity. Understanding how to incorporate, match, and care for headboards will elevate the overall design.
Incorporating DIY Headboards Into Your Bedroom Decor
DIY headboards provide a perfect opportunity to personalize bedroom decor. They can serve as a focal point that defines the space.
- Color Coordination: Ensure the headboard color complements the bedding and wall colors. Consider using contrasting colors for a striking appearance.
- Textural Appeal: Mix materials like wood, fabric, or metal to add depth. A fabric-covered headboard can soften a modern space, while a reclaimed wood version introduces rustic charm.
- Artwork Placement: Position artwork or decorative items above the headboard for added visual interest. This creates a cohesive look, tying the room together.
Matching Headboards With Different Interior Design Styles
Selecting a headboard that aligns with the chosen interior design style is crucial. A mismatch can disrupt the room’s aesthetic.
- Modern Design: Opt for sleek lines and minimalistic designs. Upholstered headboards in neutral tones work well here.
- Bohemian Style: A DIY headboard made from reclaimed wood or adorned with tapestries enhances the relaxed, layered Bohemian vibe.
- Traditional Decor: Classic silhouettes in rich fabrics or dark woods suit traditional spaces. A tufted velvet headboard can bring elegance.
Maintenance and Longevity of DIY Headboards
Proper care extends the life of a DIY headboard and maintains its appearance.
- Regular Cleaning: Dust surfaces regularly to prevent buildup. For fabric headboards, gentle vacuuming or spot cleaning is advisable.
- Protective Measures: Use fabric protectors to shield against stains. Consider applying a clear coat to wooden headboards to prevent scratches.
- Periodic Inspections: Check for loose screws or joints periodically. Tightening these can prevent further damage and ensure stability.
These tips provide guidance for effectively styling and maintaining DIY headboards, adding both beauty and functionality to any bedroom design.

